There is Toha link.
Pre-required
Getting Started
Step 1: Fork the example repo and rename
At first, fork this sample repo to your account. Then, rename the repo to whatever you want.
If you want to use Github Pages to deploy your site, then rename it to <your username>.github.io.
The sample repo comes with pre-configured Github Actions to publish the site in Github Pages and Netlify.
Step 2: Clone the forked repo locally
Once you have forked and renamed the repository, you can now clone the forked repository in your local machine for further changes.
git clone git@github.com:<your username>/<forked repo name>Step 3: Update the module file
pre-requires: Go language You should see go.mod and go.sum files in the root of the repository. Update the first line of the go.mod file as below:
module github.com/<your username>/<forked repo name>Step 4: Change config.yaml file
Now, open the repository in an editor and change the following configurations in your config.yaml file located at the root of your repository.
Change the baseURL
At first change the baseURL to your site URL. If you want to use Github Pages to host your site, then set it as below:
baseURL: https://<your username>.github.ioChange the gitRepo
Now, change the gitRepo field under the params section to point to your forked repository. For example,
gitRepo: https://github.com/<your username>/<your forked repo name>Disable analytics or configure it properly
-
Google Analytics
The sample repo comes with Google Analytics pre-configured. The analytics id point to the original site. So, either disable the analytics or configure it properly according to this guide.
You can disable the analytics by setting the following field under the params.features section:
analytics:
  enabled: false
-
News Letter
Disable news letter functionality The sample repo comes with a pre-configured mailchimp newsletter service. Disable it by setting the following field under the params.footer section.
newsletter:
  enable: false
Step 5: Run the site locally
Now, run the following commands to run your site locally:
a. Load Hugo modules
hugo mod tidyb. Install node modules
hugo mod npm pack
npm install
c. Run the site
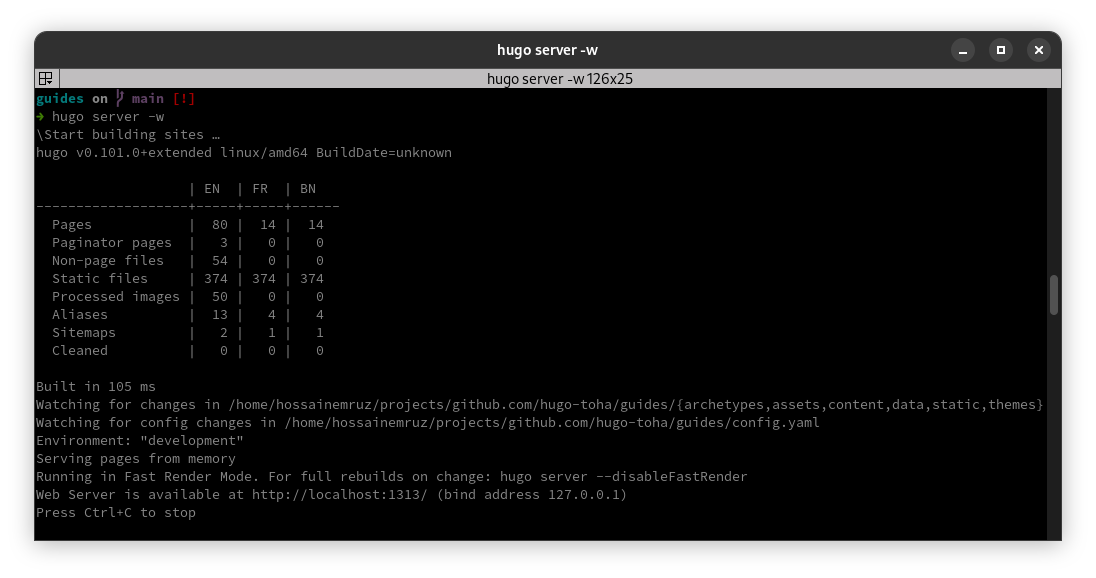
hugo server -wIf everything goes right, you should see an output similar to this.
Now, go to localhost:1313 in your browser and you should see your site running.
Step 6: Push the changes to Github
If you have come this far, it means your site is running locally without any issue. Let’s push these changes to Github.
# stage all the changes
git add .

# commit the changes
git commit -m "Initial site setup" -s

# push the changes to Github
git push origin HEAD
Step 7: Deployment to Github Pages
Firstly, you need change Default Permissions, fllowing Github Action Change Default Permissions. GitHub Pages Action
Customize the background, logo, and a few other things of your site
Reference: https://toha-guides.netlify.app/posts/configuration/site-parameters/